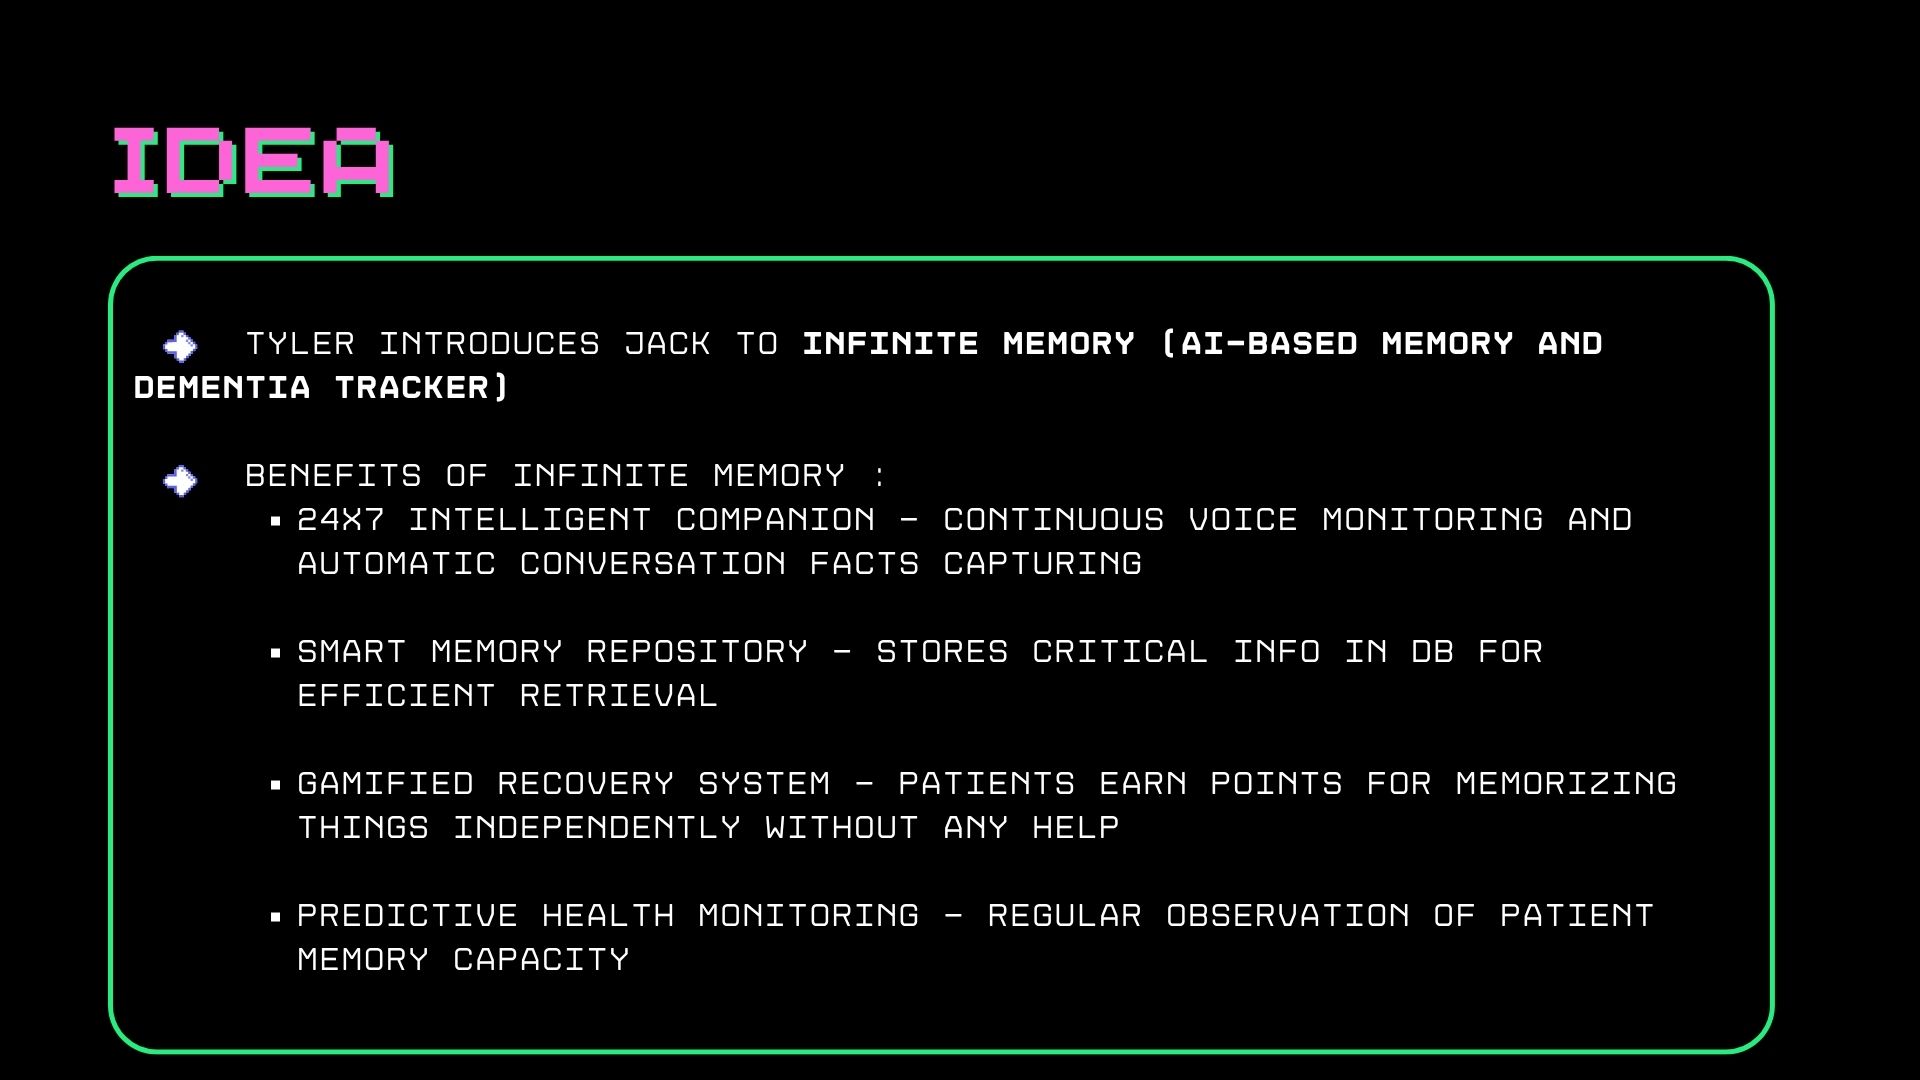
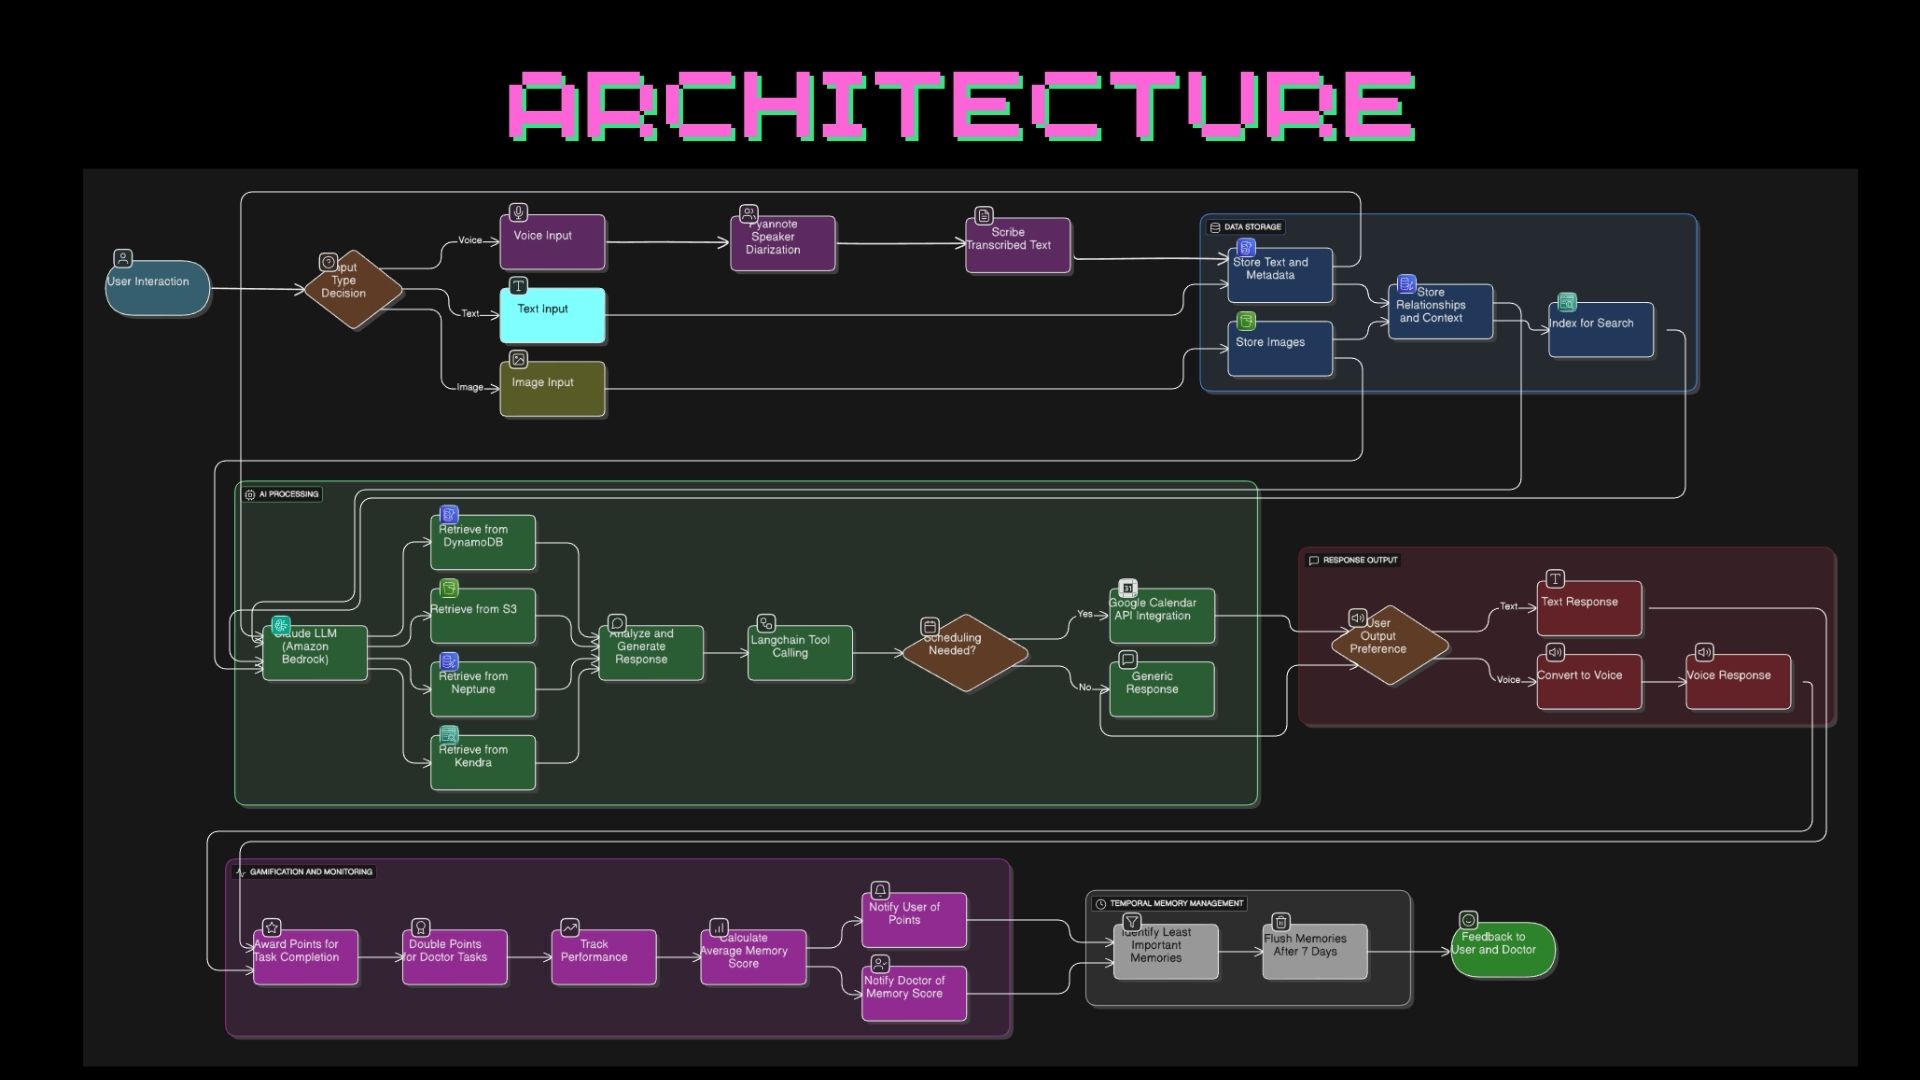
INFINITE-MEMORY is a full-stack, multimodal AI companion designed to act as a cognitive safety net for individuals with dementia. It actively listens to conversations, remembers visual and textual information, understands context, and can take action on behalf of the user, all while providing a seamless, conversational experience for both the patient and their caregiver.
- Conversational Memory: Remembers spoken conversations using live Voice Activity Detection (VAD).
- Multimodal Understanding: Can be shown images (like a new medication) and will understand and remember what it sees.
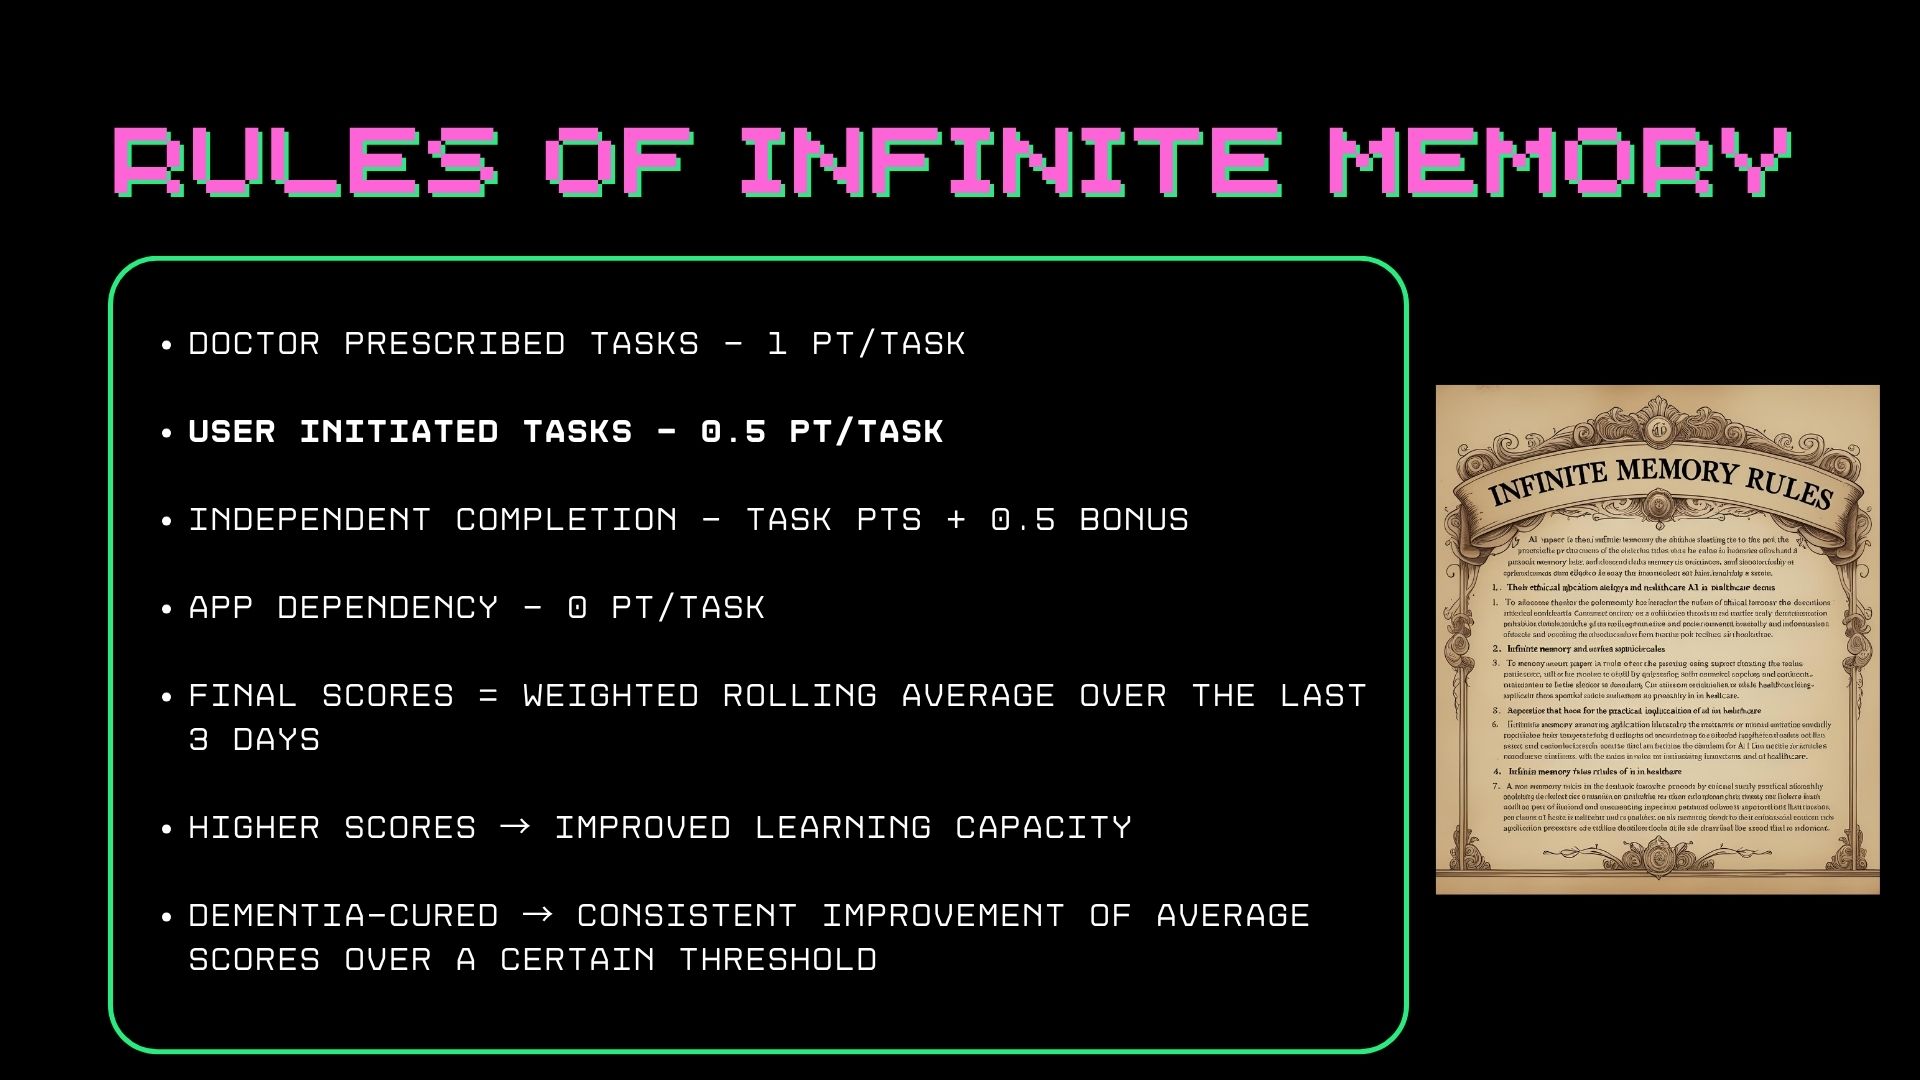
- Global Speaker Diarization: Doesn't just know what was said, but who said it, by creating unique voiceprints for each person the user interacts with.
- Proactive Task Management: A caregiver dashboard allows for adding tasks (e.g., "Take medication at 9 AM") which the AI becomes instantly aware of.
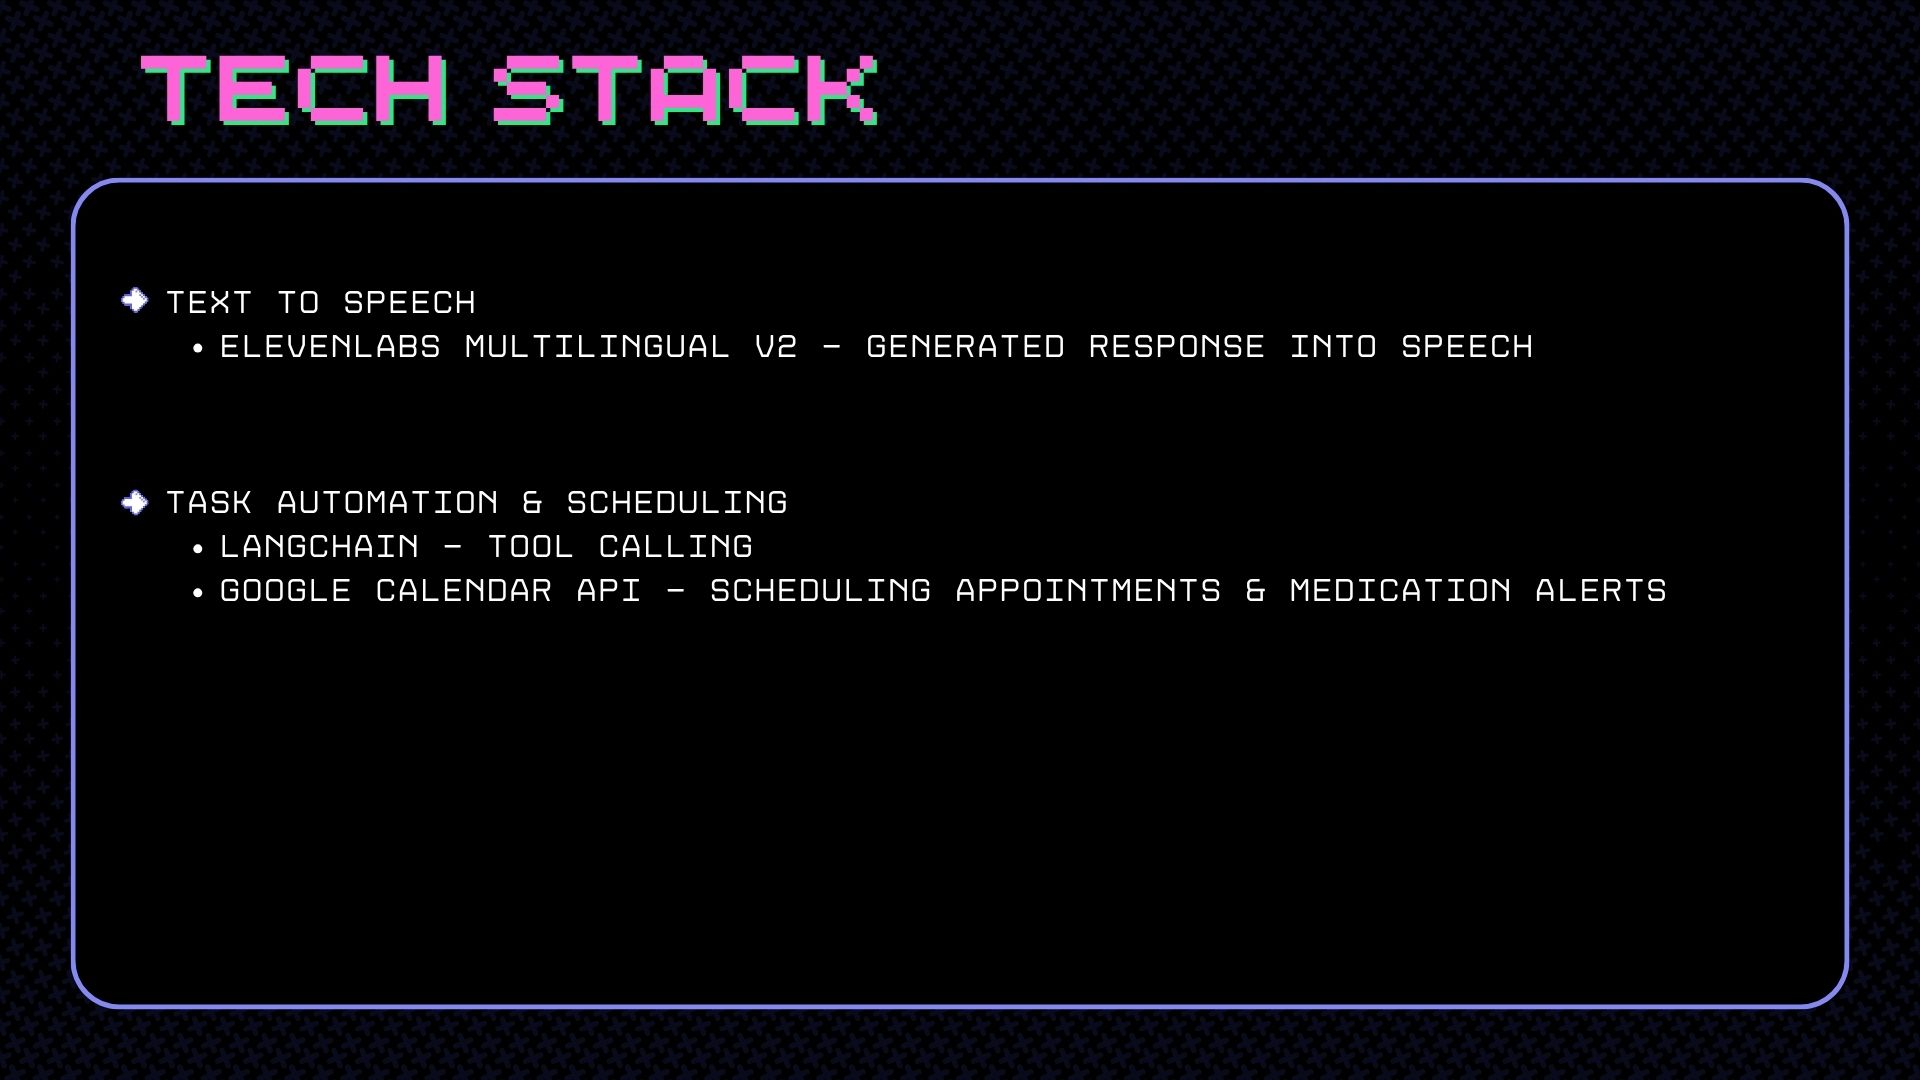
- Tool-Using Agent: Integrated with LangChain, the AI can take real-world actions, starting with creating Google Calendar events from natural language commands.
- Comprehensive Analytics: A full dashboard for caregivers to track memory trends, interaction frequency, and receive proactive alerts for their patients.
- Secure & Multi-Tenant: All data is partitioned per user, ensuring privacy and security.
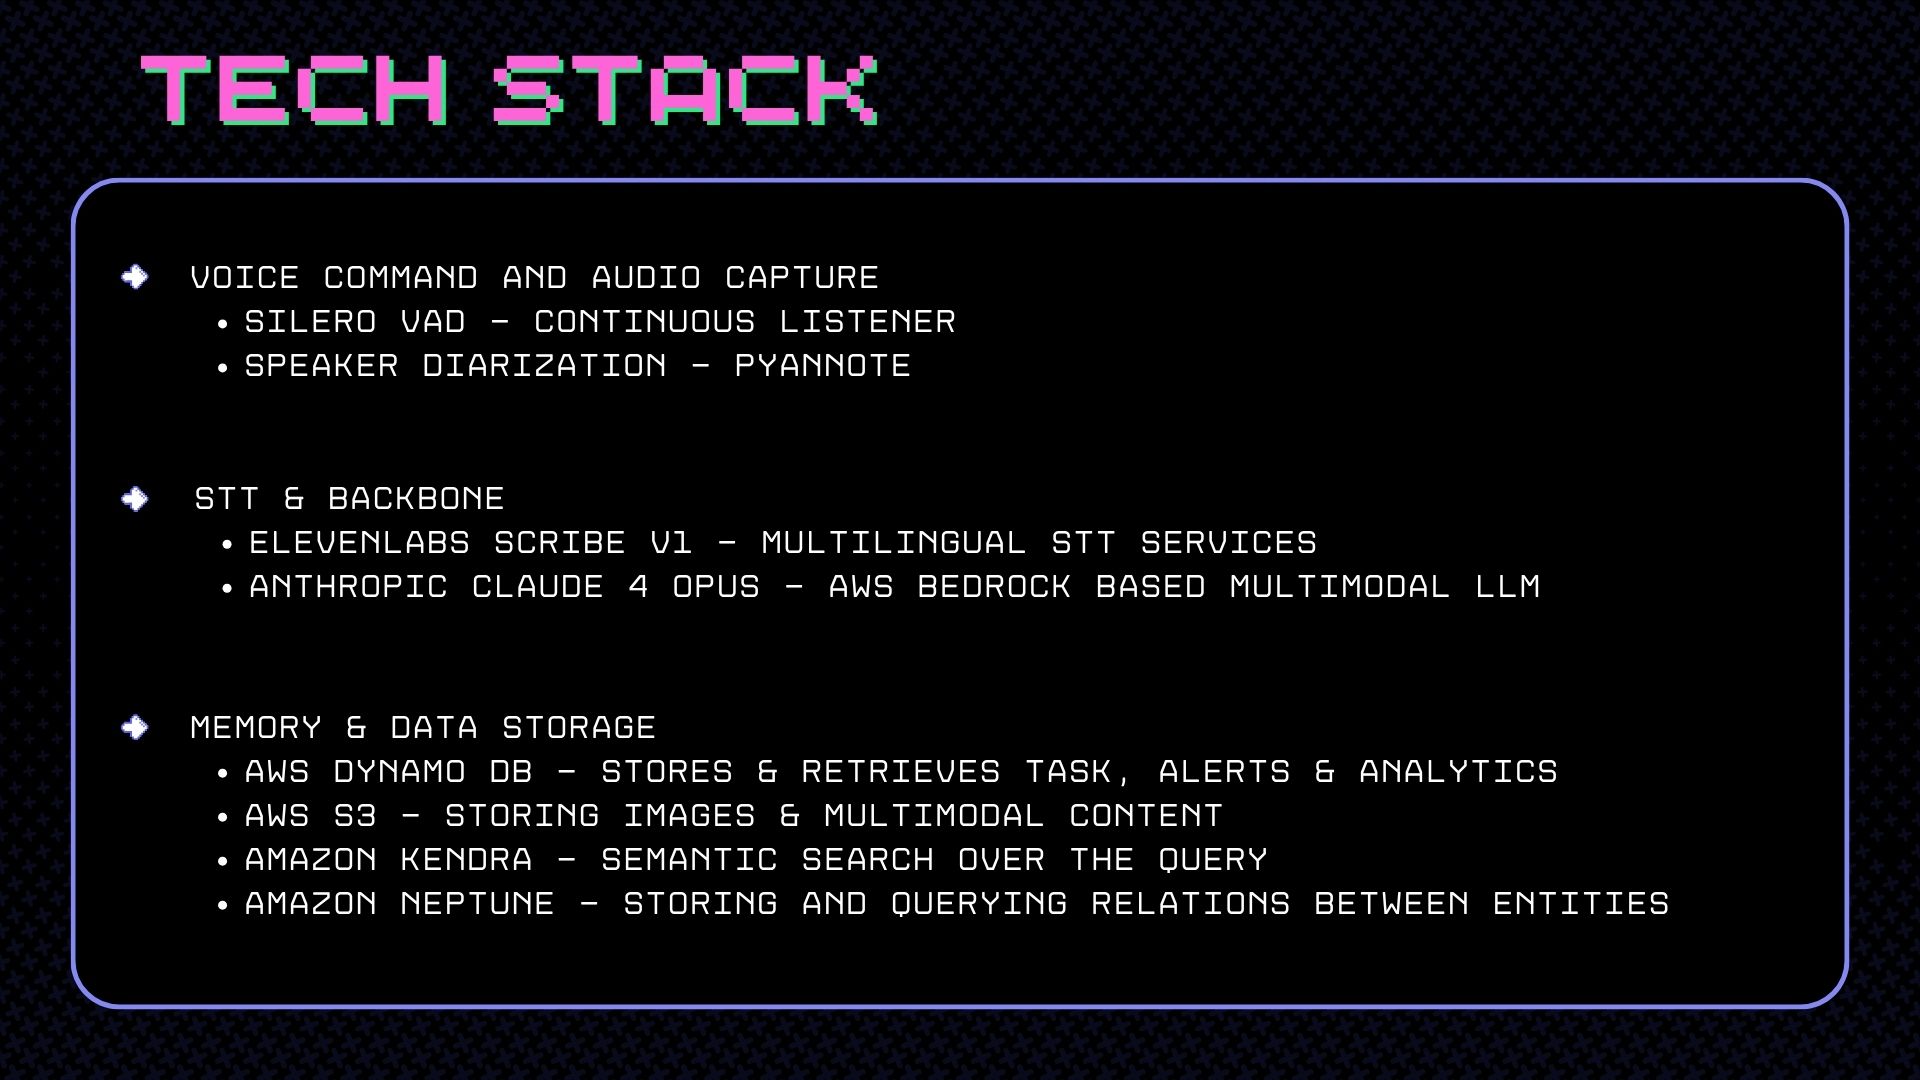
The application is built on a robust, cloud-native architecture that leverages a suite of powerful, purpose-built AWS services, orchestrated by a Python backend and frontend.
- Backend: FastAPI
- Frontend: Streamlit
- AI/ML Framework: LangChain
- AI Models (via AWS Bedrock): Anthropic Claude 4 (Opus & Haiku)
- Semantic Search (Vector DB): Amazon Kendra
- Relational Memory (Graph DB): Amazon Neptune
- Operational Data (Speaker DB, Tasks, Analytics): Amazon DynamoDB
- Image Storage: Amazon S3
- Text-to-Speech: ElevenLabs
- Speaker Recognition:
pyannote/wespeaker-voxceleb-resnet34-LM
Follow these steps to get the complete system running on your local machine.
- Python 3.9+
uvPackage Manager: If you don't have it, install withpip install uv.- Homebrew (macOS): For installing system dependencies.
- AWS Account: With credentials configured for programmatic access.
- Google Cloud Platform Account: For the Google Calendar API.
- SSH Client: For tunneling to the Neptune database.
You will need to manually create the following resources in your AWS account. Ensure all resources are created in the same region.
- Amazon S3 Bucket:
- Create a standard S3 bucket.
- In the Permissions tab, add a CORS policy to allow
GETrequests from*.
- Amazon Kendra Index:
- Create a new Kendra Index. Choose "Developer edition".
- Once created, go to "Facet definition" and add the following fields:
importance_score(Type:Double, Check:Sortable,Displayable)s3_url(Type:String, Check:Displayable)speaker_cluster_id(Type:String, Check:Displayable)creation_timestamp(Type:Long, Check:Sortable,Displayable)
- Amazon DynamoDB Tables (x4):
- Speakers Table:
- Table Name: e.g.,
infinite-memory-speakers - Primary Key: Composite (
user_id[String] Partition Key,cluster_id[String] Sort Key)
- Table Name: e.g.,
- Tasks Table:
- Table Name: e.g.,
infinite-memory-tasks - Primary Key: Composite (
patient_id[String] Partition Key,task_id[String] Sort Key)
- Table Name: e.g.,
- Analytics Table:
- Table Name: e.g.,
infinite-memory-analytics - Primary Key: Composite (
patient_id[String] Partition Key,timestamp[String] Sort Key)
- Table Name: e.g.,
- Alerts Table:
- Table Name: e.g.,
infinite-memory-alerts - Primary Key: Composite (
patient_id[String] Partition Key,timestamp[String] Sort Key)
- Table Name: e.g.,
- Speakers Table:
- Amazon Neptune Database:
- Create a new Neptune cluster. Note its Cluster endpoint.
- EC2 Bastion Host:
- Launch a
t2.microEC2 instance in the same VPC as your Neptune cluster. - Create and download an SSH key pair (
.pemfile). - Configure its security group to allow SSH (port 22) access from your IP address.
- Configure Neptune's security group to allow inbound traffic on port
8182from the bastion's security group.
- Launch a
- Go to the Google Cloud Console and enable the "Google Calendar API".
- Create "OAuth 2.0 Client IDs" credentials for a "Desktop app".
- Download the credentials JSON file and rename it to
credentials.jsonin the root of this project.
-
Clone the Repository:
git clone <your-repo-url>
cd Infinite_Memory
-
Create the Environment File:
- Create a new file named
.envin the project root.
- Create a new file named
-
Install Dependencies:
- System Dependencies (macOS):
brew install portaudio
- Python Packages:
uv sync
- System Dependencies (macOS):
To run the full application, you need three separate terminal windows.
-
Terminal 1: Start the SSH Tunnel
- This tunnel securely connects your local machine to the private Neptune database.
# Replace with your actual values
ssh -i /path/to/your/neptune.pem ec2-user@<YOUR_BASTION_PUBLIC_IP> -N -L 8182:<YOUR_NEPTUNE_CLUSTER_ENDPOINT>:8182
Leave this terminal running. It will look like it's hanging.
-
Terminal 2: Start the Backend Server
uv run backend/main.py
You should see the Uvicorn server start up.
-
Terminal 3: Start the Frontend UI
streamlit run frontend/entry.py
This will open a new tab in your web browser with the application running.
The very first time you use a feature that requires the calendar (e.g., asking the AI to create a reminder), the backend will pause.
- Look at the terminal running the backend (
uv run...). It will print a URL. - Copy this URL into your browser.
- Log in to your Google account and grant the application permission to access your calendar.
- This will create a
token.jsonfile in your project root, and the application will continue. This only needs to be done once.
You are now ready to use the full INFINITE-MEMORY system!